

© Lemon squeezer
In this series of three episodes, I study through my personal experience the advantages and disadvantages of the Starlink offer. Each episode addresses the three phases of this experience: before, during and after.
Through this feedback, I wish to transcribe as faithfully as possible the different phases of life with satellite internet. It starts with the order, then installation, daily use and finally the assessment.
In this first episode, I return to the first stages of the adventure: the order, the installation and… the first problems.

© Presse-citron
Starlink is a solution created by Elon Musk, allowing access to the internet from the most remote areas of the planet. The system is resistant to bad weather and extreme temperatures. A small dish is installed at home and communicates with the 4,000 satellites circulating in low Earth orbit (figures as of November 2023) to deliver an internet connection of up to 220 Mbit/s.
For comparison, the maximum theoretical speed of ADSL caps at 30 Mbit/s, that of VDSL does not exceed 100 Mbit/s (in the best possible scenario). Only fiber displays much higher performance (up to 8 Gbit/s for the latest Freebox Ultra for example).
After moving in March 2024 to the Picardy countryside, I found myself in a complex situation. The deployment of fiber in my village, scheduled for January 2024, ended up being several months late. So I tried to get an ADSL line: no slot available before August 2024. Since I work mainly from home, it's impossible for me to wait that long.
So I turned to Starlink.
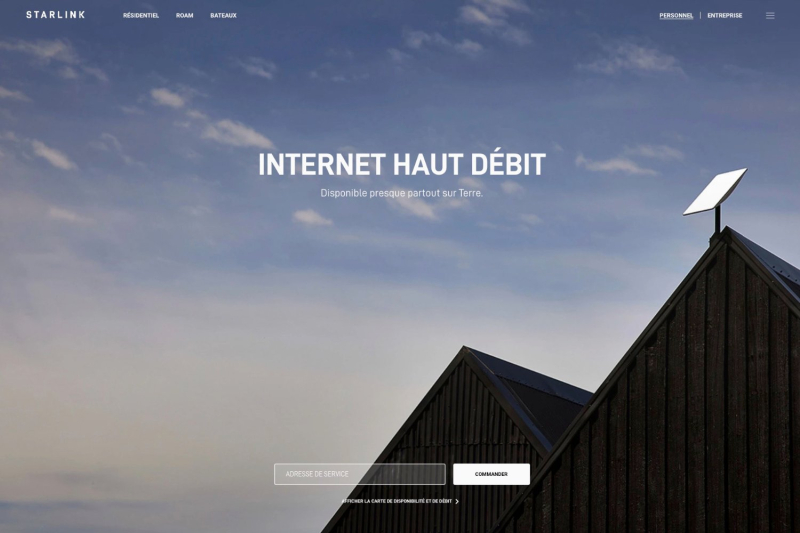
© Home page of the official Starlink website

© France is integèOfficial Starlink website
The first step is therefore to order the Starlink solution. Several possibilities are available to you: go through the application or the official Starlink website or go to a partner store (Fnac-Darty or Boulanger for example for France).
On the official website (or application), all you have to do is enter your postal address to find out what the speeds are and order your Starlink. The company offers two formulas:
- the purchase of equipment at 450 euros (225 euros at the time of writing) and a subscription of 40 euros per month for the service
- equipment rental for 10 euros per month and 40 euros per month for the service
Since I chose Starlink as a temporary solution, I opted for the rental formula, so as not to end up with a satellite dish on my hands. Purchasing is still the best option if you are considering Starlink as a long-term solution.
Once the order has been placed, allow a few days (around ten for me) before receiving the complete kit. The subscription only starts from the first activation which, logically, takes place during the installation of the dish.
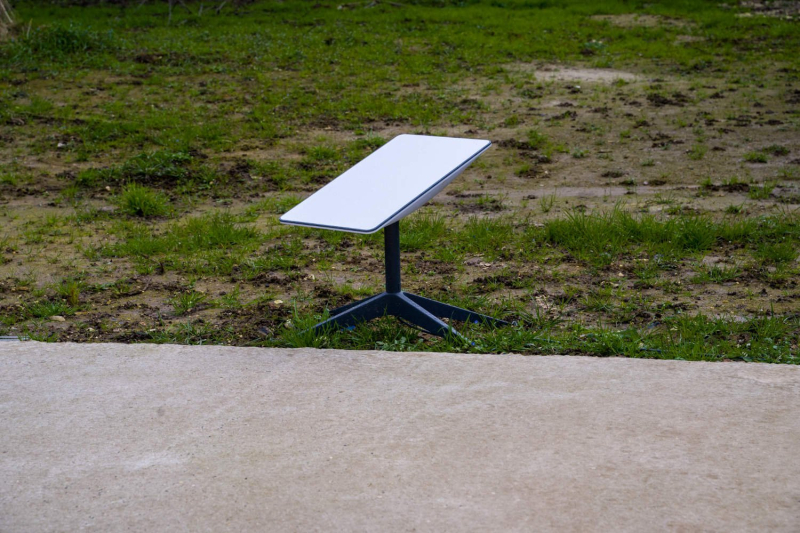
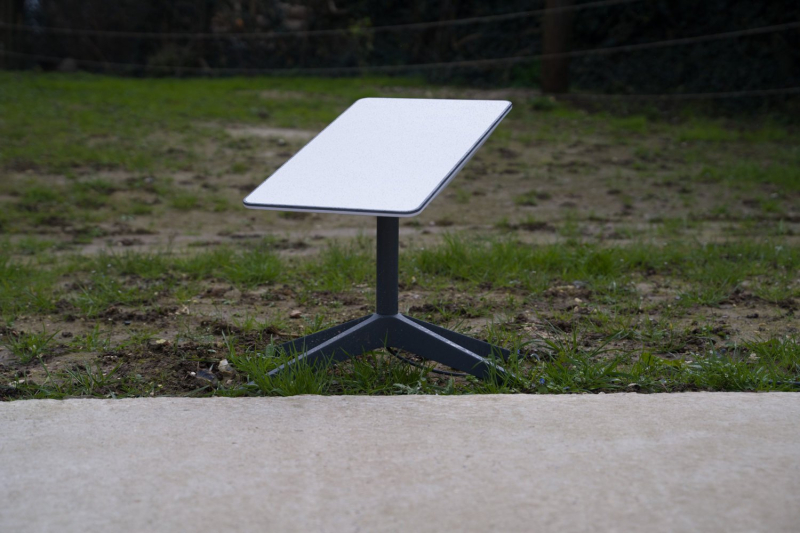
© Presse-citron
In theory, installing Starlink is a breeze. You place the dish in your garden, on your balcony or on your roof and connect it to the modem using a waterproof cable (IP54) 15 meters long. If this distance is insufficient, 23 and 45 meter cables are available as an option at the respective prices of 100 and 135 euros (still).
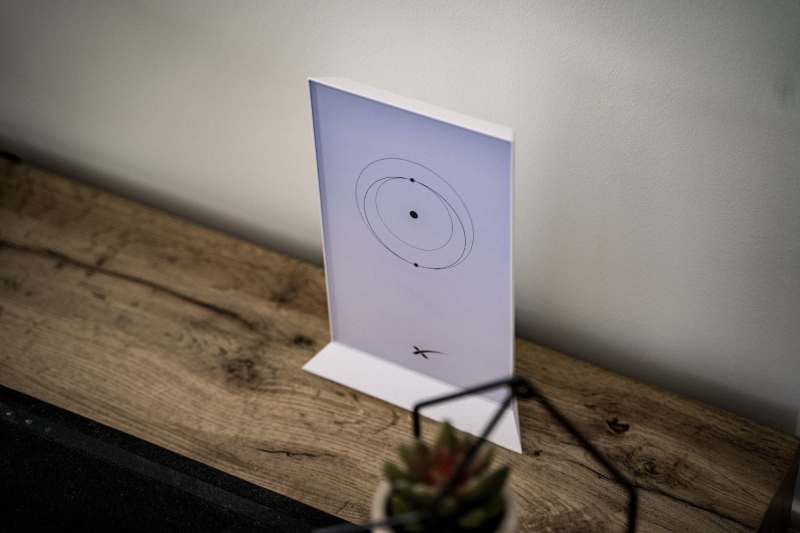
In practice, the maneuver is a little more complicated. Before positioning the dish (or even opting for the Starlink solution), it is essential to test the network coverage. Indeed, the small dish must be able to 'orient towards the North under a clear sky.
To find the best place, Starlink offers a tool in its application. You can move anywhere in your garden or on your terrace and point your phone towards the sky. On your screen, a cloud of points appears in augmented reality. Once scanned, the application tells you if your orientation is correct or not. If not, choose another point.
The difficulty is therefore to find the right anchor point for the dish while keeping a suitable distance from the home to connect the modem.
Depending on the configuration, installation can become a real headache. I first thought about attaching the dish to my roof, the position most recommended by Starlink for perfect orientation. Cost of the operation by three specialist Starlink installers: 800 euros! At the local antenna specialist, the cost was no better.
I therefore chose to position the dish in my garden by fixing it to its base firmly planted on the ground using threaded rods (tent pegs are also suitable).
Subscribe to Lemon Squeezer
Connecting the dish to the modem also became a real schmilblick. First I managed to slip the cable under the service door from my garage. But the modem was too far away from other rooms in the house: the WiFi signal was catastrophic (I'll come back to that) I couldn't connect to it.
So I decided to drill a hole between the wall of my living room and the outside to pass the cable through. The head of the cable being quite thick, it is essential to provide a hole large enough but not too large to avoid infiltration of air, water and insects.
So I had to transform myself into MacGyver, equip myself with a sufficiently powerful drill and a long enough drill bit (which you use three times in your life if you don't renovate no house) to drill this hole. To protect the cable, I inserted a conduit through the wall which I then made waterproof with silicone seals. Starlink offers a complete kit for this type of operation but its cost of 55 euros seemed excessive to me. Between the forest, the sheath and the silicone purchased in the hardware store corner, I divided the bill in half. Imagine the savings in a large DIY store.
Making such a hole for a temporary solution may seem a bit exaggerated. I accepted this light work for two reasons: I will use the same passage to connect my home to the fiber when it is available and, above all, I had no other solution to position the modem near an RJ45 socket, essential for the installation of an Orbi type solution to correct weak WiFi. Because if Starlink has a fault, it is the WiFi range of its modem.
© The WiFi of the Starlink modem is catastrophic/Lemon squeezer

© The ethernet adapter allowing you to connect a WiFi router costs 40 euros/Lemon squeezer
The Starlink modem has WiFi 5 connectivity. In theory, it supports speeds of up to 1 Gbit/s, much more than the maximum speed offered by Starlink.
Despite this, depending on the configuration of your home, the modem provided by the company may become problematic. In my case, adding an Orbi solution proved essential.
In fact, the WiFi range of the modem is too narrow to cover my entire home. Starlink also seems aware of this problem: the company indicates when installing the device that the modem must be placed in the most open room of the accommodation to benefit from the best possible signal. My house covers more than 100 m2 on two floors with many walls, it is impossible to make do with the modem provided. So I had to resort to adding an Orbi solution from Netgear.
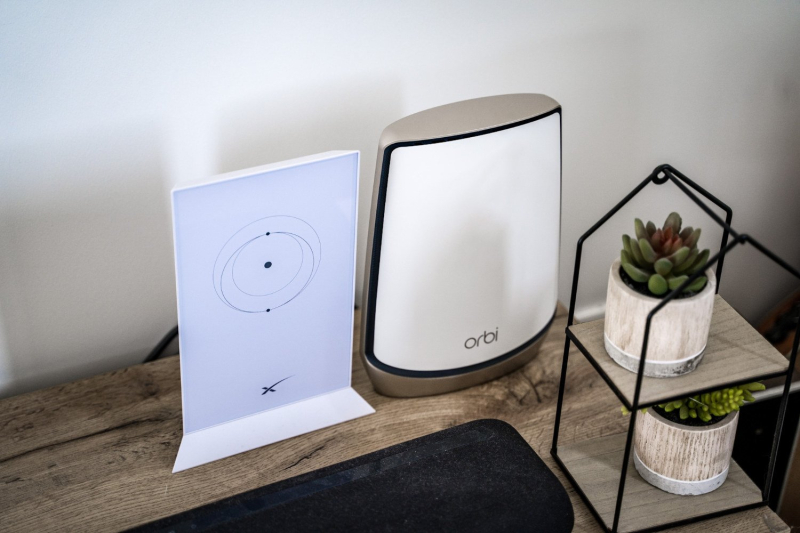
© Presse-citron
Another problem: the Starlink modem does not include an Ethernet port.I therefore had to purchase an official accessory from the Starlink store to add an Ethernet socket and thus connect the modem to my Orbi kit and, by extension, to my network of RJ45 sockets. Cost of installation: 40 euros, not including the Orbi 860 kit (with 2 routers) loaned by the brand (the test is coming soon) normally sold at a price of 900 euros.
My Starlink adventure is starting to get expensive, but here I am ready to discover life with satellite internet. Continued in the next episode…
📍 To not miss any news from Presse-citron, follow us on Google News and WhatsApp.